
How to Invert Film Negatives at Home (Free Negative Lab Pro Alternative)
A $99 plugin plus a Lightroom subscription is not the only way to get clean colour out of a negative. Here is the full camera-scanning workflow, plus the maths that keeps skin tones from turning blue.
Lab scans cost money every roll, and the desktop answer — Negative Lab Pro at $99 on top of a Lightroom Classic subscription — costs money every month. Comparing commercial lab scanning costs with camera scanning shows that recurring lab fees quickly surpass gear costs, while mobile apps often hide behind predatory scanner app subscriptions. Camera scanning paired with a browser-based inverter removes both recurring bills: the hardware is a light source and the camera you already own, while the software pipeline decides whether the conversion looks like authentic film or like a bruised mess.
1. Capture the negative
- Backlight: a CRI 95+ LED panel, or a tablet showing a pure white image at full brightness. Anything with a green spike in its spectrum bakes a cast into every frame.
- Distance: fill the frame with the negative and keep the sensor plane parallel to the film. A tilted capture is unfixable later.
- Exposure: base ISO, manual white balance, and lock AE/AF. Auto-exposure drifting between frames means every frame needs its own correction.
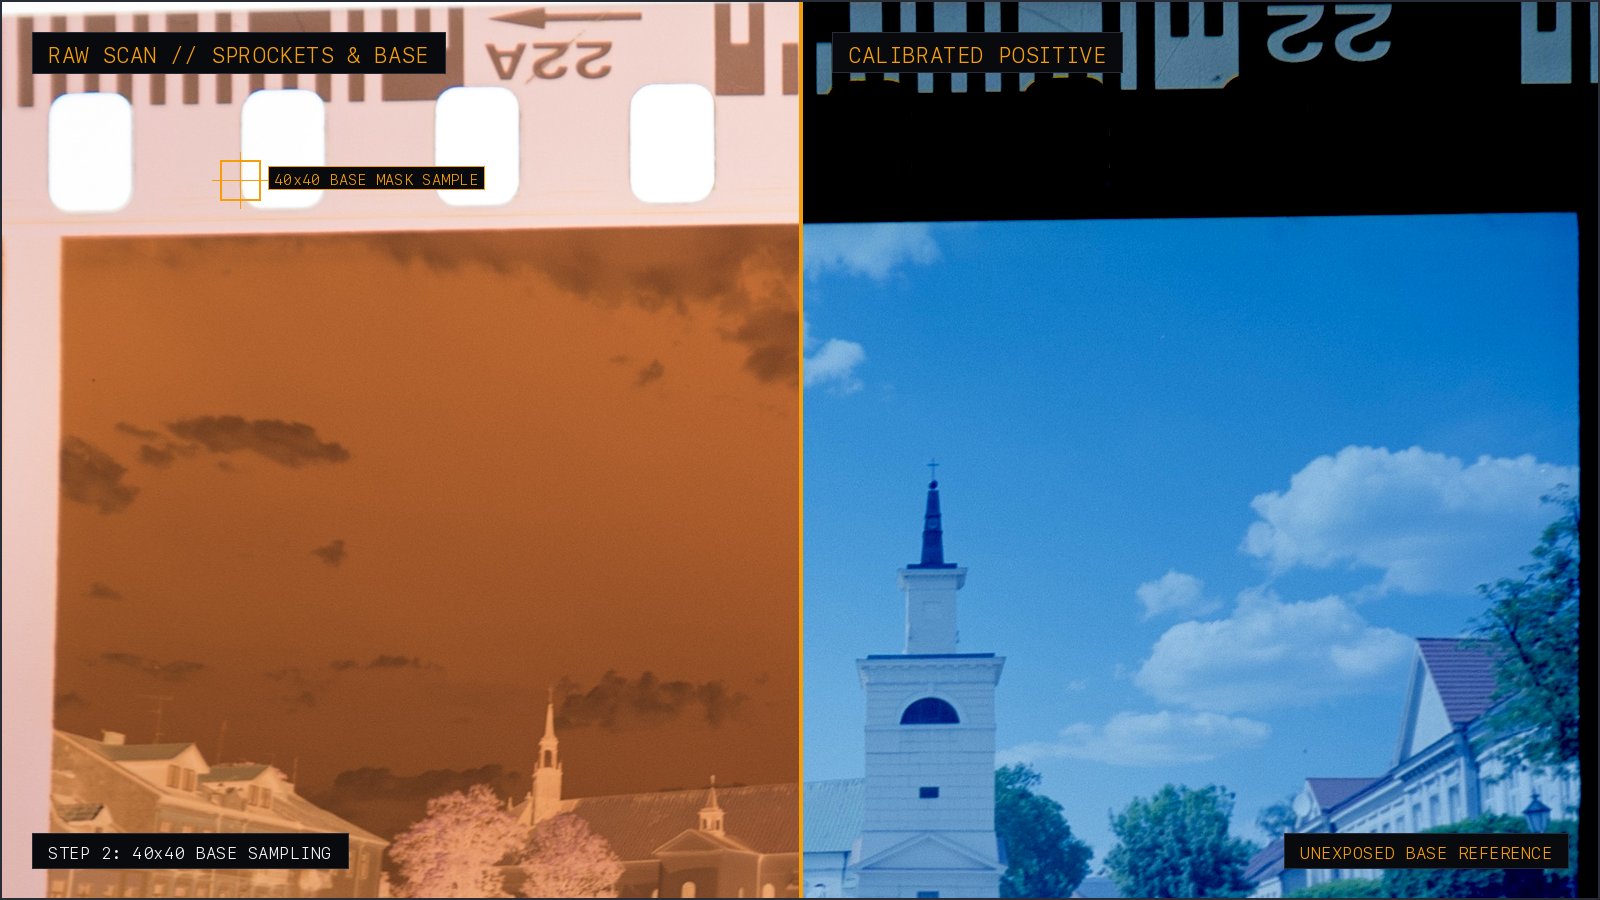
- Include the film base: leave a sliver of unexposed border or a sprocket gap in the shot. That strip is the reference the inversion is built on.
The one rule people skip
Shoot in a dark room. Ambient light bouncing off the shiny emulsion lifts the blacks, and lifted blacks in a negative become milky, low-contrast highlights after inversion.
2. Why `255 - RGB` never works
C-41 film carries colored couplers that leave an orange mask across the whole base. It exists to compensate for unwanted dye absorption in the green and blue layers — the film is deliberately not neutral. As detailed in our breakdown of C-41 orange mask removal math, subtracting each channel from white keeps that orange bias in the picture, inverted: faces go cyan, shadows go navy, and no amount of curve dragging fully removes it.
vec3 inverted = pow(max(vec3(0.0), 1.0 - (pixel / mask)), vec3(u_filmCurve));Dividing by the sampled base colour is a subtraction in optical density space, which is where film actually lives. u_filmCurve then restores the non-linear response of the emulsion instead of leaving a flat, plastic gradient.
3. Invert it — drag the slider
Left: the raw capture with its orange base. Right: the same pixels after mask subtraction, level stretch and 1.8 gamma. Drop your own negative on it to test your roll.
4. Sample, tune, export
- Load the capture and click Sample Mask on the unexposed border — a 40×40 average with outlier rejection, so grain and dust do not skew it.
- Pick the emulsion profile closest to your stock (Portra 400, Gold 200, Superia 400, HP5).
- Nudge black point, white point and gamma until the histogram fills the range without clipping.
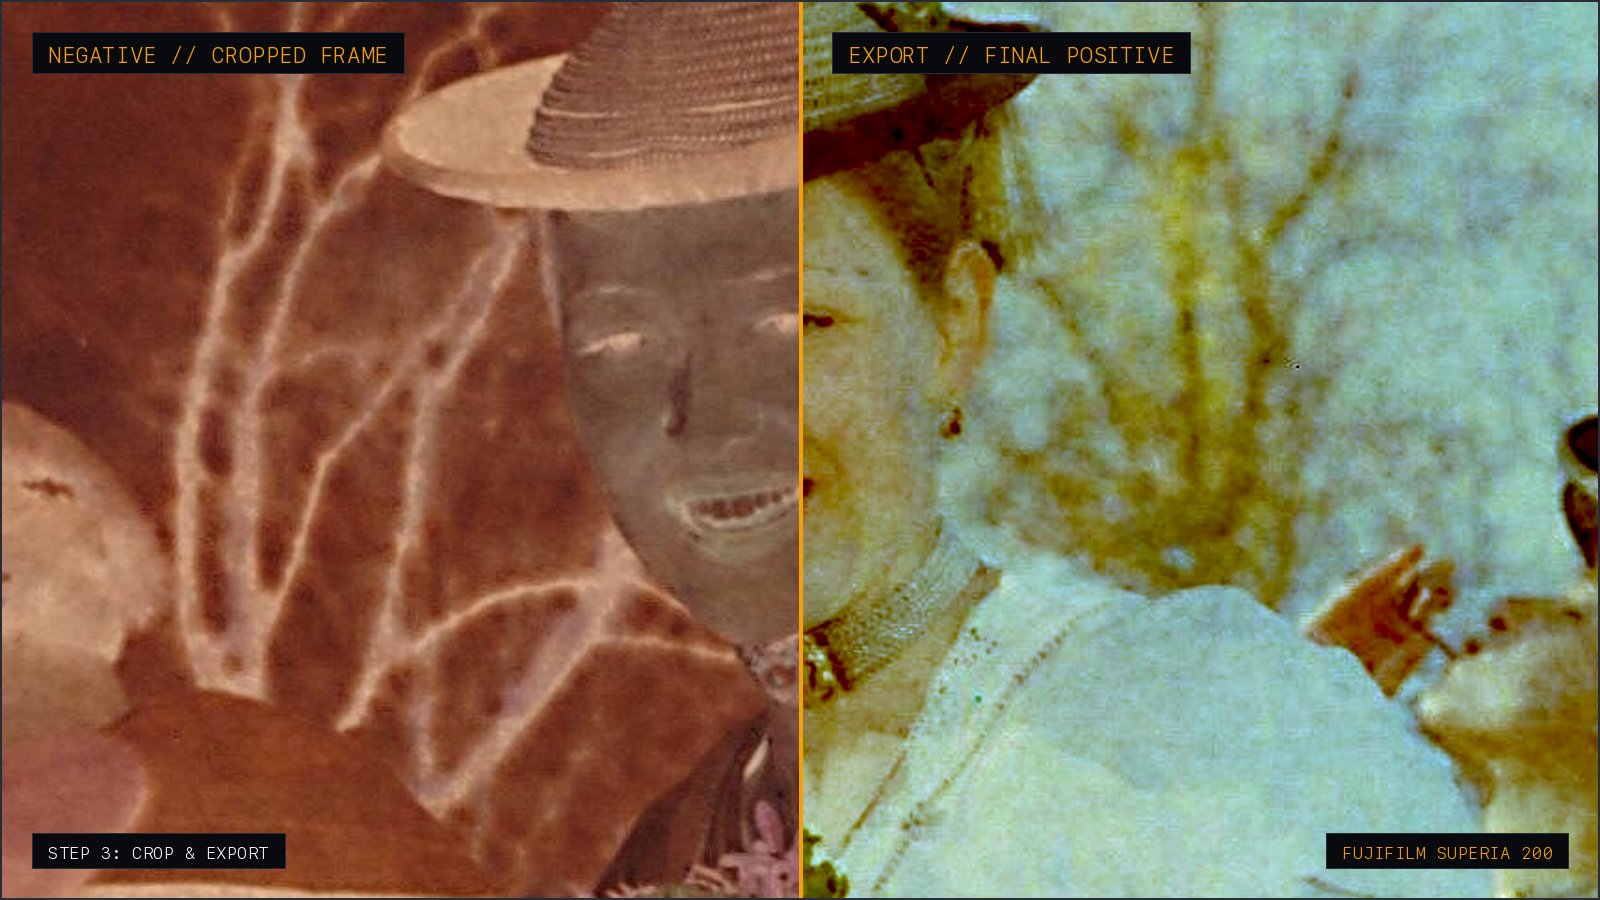
- Export the full-resolution positive. Nothing was uploaded: the whole pipeline ran on your GPU.
Technical FAQ
- Can I invert film negatives with my iPhone or Android camera?
- Yes. Lay your negative flat over a high-CRI light table or an iPad displaying a pure white screen in a dark room. Take a focused, exposure-locked photo ensuring the unexposed orange border is in frame, then load it directly into NegaScan to sample the base and invert.
- Why does converting negatives using Photoshop's Invert command look blue or cyan?
- C-41 film has an orange tinted mask built into the base to compensate for imperfect dye absorption. A simple mathematical inversion (255 - RGB) turns that bright orange mask directly into dark cyan, muddying skin tones and shadows unless subtracted in logarithmic density space.
- Do I need an expensive macro lens to camera scan film?
- Not necessarily. While a dedicated 1:1 macro lens on a mirrorless body yields maximum edge-to-edge sharpness, modern smartphone telephoto or macro cameras shoot high-resolution captures that are more than sharp enough for digital archives and prints.
- Why is NegaScan free when Negative Lab Pro costs $99?
- Negative Lab Pro is an external Lightroom plugin designed for desktop raw catalog integration. NegaScan implements the same logarithmic optical density math as a client-side WebGL shader, running instantly in your browser without cloud compute overhead or desktop software licenses.
Keep reading
- How to Transfer Disposable Camera (QuickSnap) Photos to Phone Without Paying Lab FeesFinished a Fujifilm QuickSnap or disposable camera? Learn where to develop it, why stores charge $15+ for smartphone scans, and how to get develop-only negatives and scan them to your phone at home.
- How to Invert Film Negatives on Phone Without a $48/Year Subscription (Best Film Scanner Apps 2026)A comprehensive review of mobile film scanner apps. Exposing the predatory weekly subscription traps of FilmBox and Photomyne, and comparing one-time buyout alternatives like NegaScan.